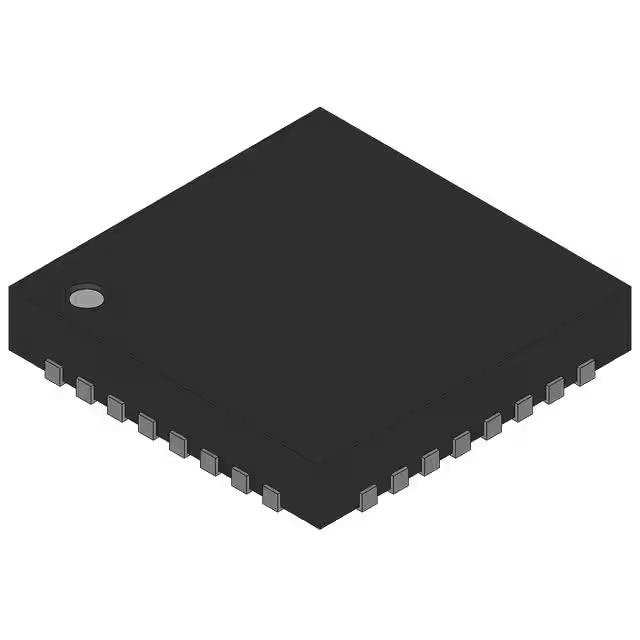
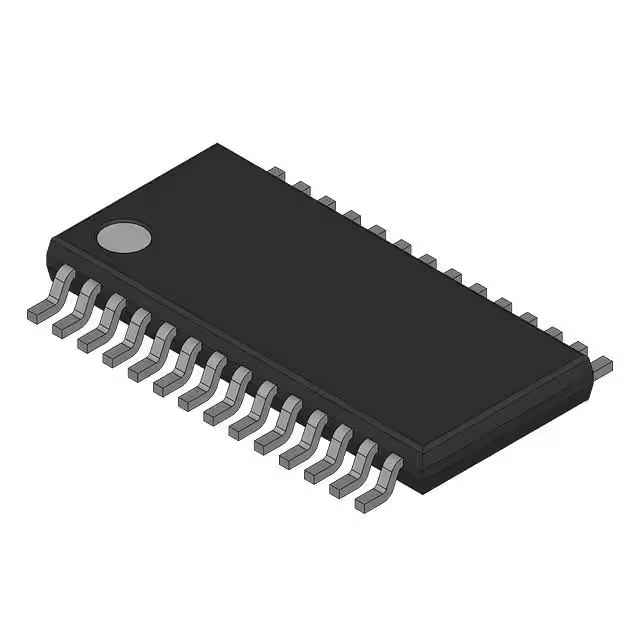
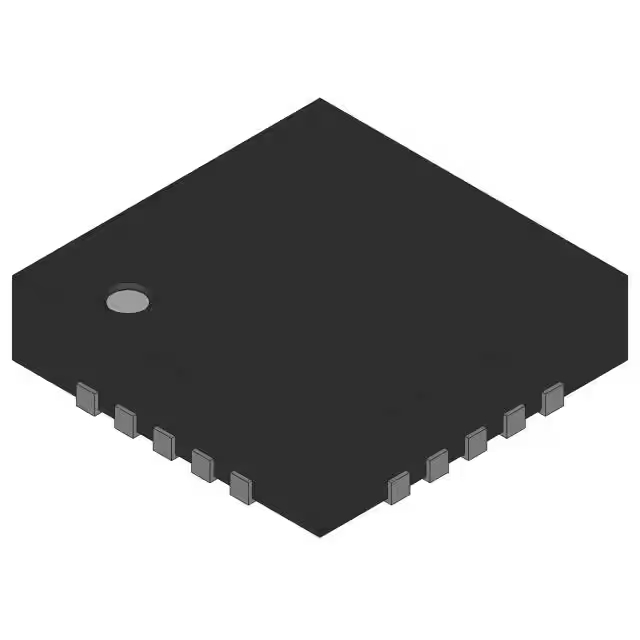
KSZ8851SNL application note & driver
- Marcas: Tecnología de microchip
- Descargar: KSZ8851SNL Datasheet PDF
- Precio: consulta
- En stock: 21,568
- Protocolo: Ethernet
- Función: Controlador
- Interfaz: SPI
- Paquete: Almohadilla expuesta 32-VFQFN

Envío GRATUITO para pedidos superiores a HK$250.00

Respuesta rápida, cotización rápida.

Envío rápido, sin preocupaciones posventa.

Canal original, garantía de los productos auténticos.
ksz8851snl
The KSZ8851SNL is an Ethernet controller that makes it easy to connect microcontrollers to Ethernet networks. It supports both 10BASE-T and 100BASE-TX speeds, giving you flexibility for your network setup. It’s also power-efficient, with modes that save energy when not in use. Whether you’re using SPI or parallel communication, it offers great flexibility for integration. Plus, it supports common networking protocols like ARP, IP, and UDP. With its built-in DMA controller, the chip reduces the load on your CPU. It even supports Wake-on-LAN for remote power management. Perfect for embedded systems, IoT, and networking projects
ksz8851snl pinout diagram
| N.º de pin | Nombre del pin | Descripción de la función |
|---|---|---|
| 1 | VSS | Ground connection for the chip. |
| 2 | VDD | Power supply pin. |
| 3 | MDIO | Management Data Input/Output (used for PHY register access). |
| 4 | MDC | Management Data Clock (used with MDIO for PHY management). |
| 5 | RXD0 | Receive Data bit 0 (Data input from Ethernet). |
| 6 | RXD1 | Receive Data bit 1 (Data input from Ethernet). |
| 7 | RXD2 | Receive Data bit 2 (Data input from Ethernet). |
| 8 | RXD3 | Receive Data bit 3 (Data input from Ethernet). |
| 9 | CRS_DV | Carrier Sense/Receive Data Valid (used to indicate valid data reception). |
| 10 | TXD0 | Transmit Data bit 0 (Data output to Ethernet). |
| 11 | TXD1 | Transmit Data bit 1 (Data output to Ethernet). |
| 12 | TXD2 | Transmit Data bit 2 (Data output to Ethernet). |
| 13 | TXD3 | Transmit Data bit 3 (Data output to Ethernet). |
| 14 | TX_EN | Transmit Enable (used to signal when the transmitter is active). |
| 15 | RX_ER | Receive Error (indicates if there’s an error in received data). |
| 16 | RX_CLK | Receive Clock (provides clock for receiving data). |
| 17 | TX_CLK | Transmit Clock (provides clock for transmitting data). |
| 18 | INT | Interrupt output to the microcontroller. |
| 19 | REINICIAR | Reset input for chip reset. |
| 20 | SCK | SPI Clock for communication with microcontroller. |
| 21 | MISO | SPI Master In Slave Out (data input to microcontroller). |
| 22 | MOSI | SPI Master Out Slave In (data output from microcontroller). |
| 23 | CS | SPI Chip Select for communication with the chip. |
| 24 | RX_ER | Receive Error (indicates errors in incoming data). |
| 25 | TX_ER | Transmit Error (indicates errors in transmitted data). |
| 26 | nINT | Active-low Interrupt signal. |
| 27 | RST | Reset pin (active low to reset). |
| 28 | SLEEP | Low-power mode pin for chip’s sleep functionality. |
| 29 | VDD | Power supply pin. |
| 30 | VSS | Ground pin for chip operation. |
When working with the KSZ8851SNL, here’s what to keep in mind: First, make sure the power (VDD) and ground (VSS) pins are securely connected to avoid voltage issues. If you’re using SPI, check that the SCK, MISO, MOSI, and CS pins match your microcontroller’s configuration. For network management, connect the MDIO and MDC pins to the external PHY as per the PHY’s specs. Don’t forget the interrupt pins (INT and nINT) to handle networking events, and ensure the RESET pin is set up correctly—sometimes, a pull-up resistor is needed.
ksz8851snl equivalent ethernet controller
| Feature/Parameter | KSZ8851SNL | Wiznet W5500 | Microchip LAN8720A |
|---|---|---|---|
| Ethernet Standard | 10/100 Mbps (Fast Ethernet) | 10/100 Mbps (Fast Ethernet) | 10/100 Mbps (Fast Ethernet) |
| Interfaz | SPI, Paralelo | SPI | RMII/SPI |
| Fuente de alimentación | 3,3 V | 3,3 V | 3,3 V |
| Física | Integrated PHY | Integrated PHY | External PHY |
| Temperatura de funcionamiento | -40°C a +85°C | -40°C a +85°C | -40°C a +125°C |
| Integrated Features | Wake-on-LAN, DMA | TCP/IP offloading, SSL | Energy Efficient, low power |
| Paquete | 32-pin LQFP | 32-pin LQFP | 28-pin QFN |
| Interrupt Output | Sí | Sí | Sí |
| Link Speed | 10/100 Mbps | 10/100 Mbps | 10/100 Mbps |
Here’s a quick comparison of alternatives to the KSZ8851SNL:
-
Wiznet W5500: This one adds TCP/IP offloading and SSL support, which is great for more advanced networking features. It’s compatible with SPI, so it’s a simple swap if your system uses SPI. However, it might not be as power-efficient as the KSZ8851SNL in certain cases.
-
Microchip LAN8720A: It uses RMII instead of SPI, so it’ll need some changes to your microcontroller’s interface. It’s perfect for low-power needs and works well in harsh environments due to its wider temperature range.
Switching to these alternatives? Make sure the interface matches your design.
ksz8851snl spi ethernet circuit example

This circuit is using the KSZ8851SNL for SPI-based Ethernet communication. Here’s a quick rundown of the key components:
-
KSZ8851SNL: Handles the Ethernet interface, with RX/TX pins for data transmission.
-
SPI Interface: It uses SPI for data communication, passing data through RXP1, RXM1, TXP1, and TXM1.
-
Resistors (R2, R6, R13, R15): Help with signal conditioning, ensuring proper current flow and impedance matching for SPI.
-
Capacitors (C13, C14, C15): These smooth out voltage fluctuations and reduce noise for stable communication.
-
Transformer (T1): Isolates the Ethernet signal and ensures proper voltage conversion.
-
3.3V Power Supply: Powers the circuit for stable operation.
This setup ensures smooth communication between your microcontroller and the Ethernet chip.
ksz8851snl linux driver setup
To set up the KSZ8851SNL on Linux, here’s the basic flow:
-
Install the Driver: The KSZ8851SNL works with the micrel driver. Check if it’s already supported by running
dmesg | grep KSZ8851. -
Enable the Driver: If not, enable it in your kernel config by navigating to Device Drivers -> Network device support -> Ethernet driver support and then compile the kernel.
-
Load the Driver: Use
sudo modprobe micrelosudo insmod ksz8851.koto load the driver. -
Check the Interface: Run
ifconfig -aoip ato see if the interface (usually eth0) is up. -
Assign IP: Use
sudo ifconfig eth0 upysudo dhclient eth0to get an IP. -
Verify: Test with
ping 8.8.8.8to ensure connectivity.
ksz8851snl arduino spi wiring
| KSZ8851SNL Pin | Arduino Pin | Descripción |
|---|---|---|
| Pin 1 (VSS) | Tierra | Ground connection |
| Pin 2 (VDD) | 3,3 V | 3.3V power supply |
| Pin 3 (SCK) | Pin 13 (SCK) | SPI Clock signal |
| Pin 4 (MISO) | Pin 12 (MISO) | SPI Master In Slave Out (MISO) |
| Pin 5 (MOSI) | Pin 11 (MOSI) | SPI Master Out Slave In (MOSI) |
| Pin 6 (CS) | Pin 10 (CS) | Chip Select (CS) for SPI |
| Pin 7 (INT) | Not connected | Interrupt pin (optional, used for events) |
| Pin 8 (RESET) | Pin 9 (RESET) | Reset pin (optional for manual reset) |
| Pin 9 (RXD0) | Not connected | RX data (Ethernet Receive) |
| Pin 10 (TXD0) | Not connected | TX data (Ethernet Transmit) |
For connecting the KSZ8851SNL to your Arduino, here’s the breakdown:
-
VSS goes to GND.
-
VDD needs a 3.3V power supply (don’t use 5V, or you might damage the chip).
-
SCK connects to Pin 13 (SPI clock).
-
MISO connects to Pin 12 (for data reception).
-
MOSI connects to Pin 11 (for data transmission).
-
CS connects to Pin 10 (Chip Select).
-
INT and RESET are optional for advanced setups; you don’t need them for basic use.
Remember, you’ll need the right library like Ethernet2 to get the KSZ8851SNL working with Arduino. Just make sure your SPI pins are set up correctly in the code.
ksz8851snl mcu ethernet project
If you’re setting up an Ethernet project with the KSZ8851SNL and a microcontroller, you’ll be using the SPI interface for communication. First, connect the necessary pins: VSS to GND, VDD to 3.3V, and SPI pins like SCK, MISO, MOSI, and CS. Make sure you’re using 3.3V for power.
For Arduino, install the Ethernet2 library, and use the example code to connect to a web server. If you’re working with STM32 or another MCU, you’ll set up SPI using STM32CubeMX and use a TCP/IP stack like LWIP.
Once connected, you can test with a ping and check the Serial Monitor for feedback.


